Summer
Side-Tie
Top
May 2025 By: Maia
This month, my eye was caught by these tie-side tops. With the warmer weather, I think a cute, breezy, interesting top is more than called for. As far as patterns go, this one should be pretty easy to figure out so let’s begin this month’s pattern breakdown with a quick mock up sketch!
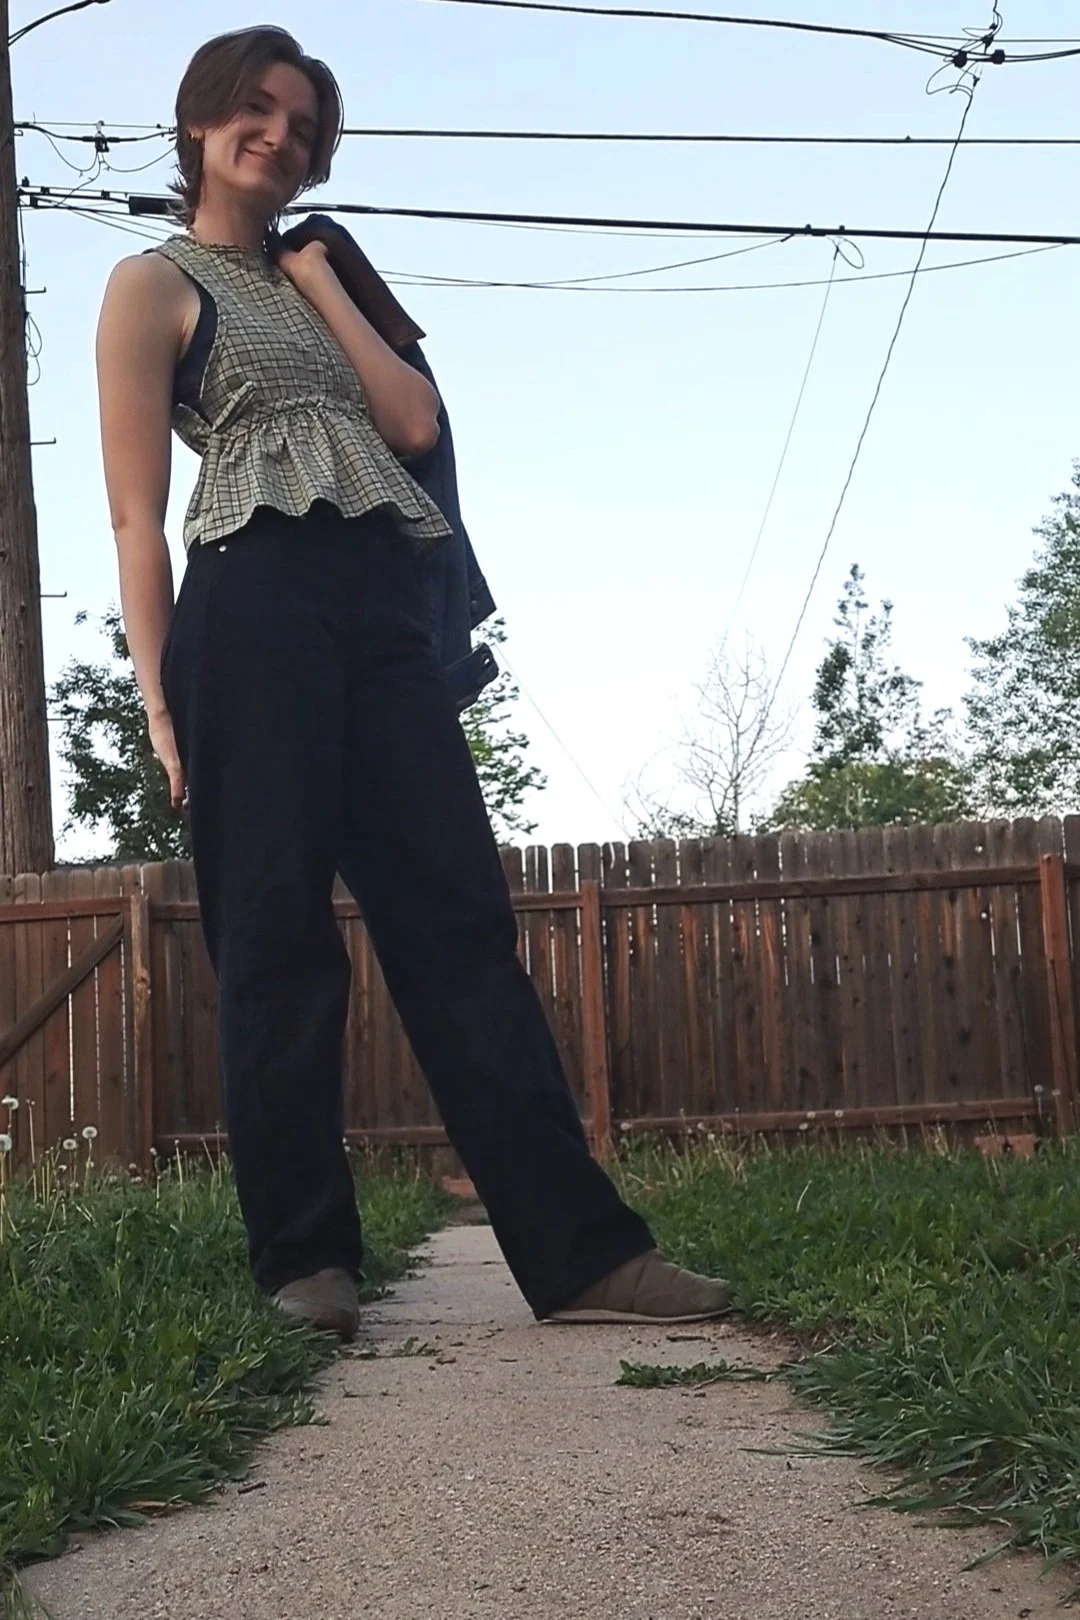
For some more inspo pictures for this top go check out the
(Left side: @lilyfarr, all other photos pulled from Pinterest, source material
contained in pinterest board linked above).
Also, these posts are a detailed guide to make your own pattern. If you would like a ready-made pattern I love the one linked here by ITAbrand on Etsy! Since this pattern doesn’t have some of the key design elements I want in my top, we will draft our own.
But don’t worry. This will be pretty easy!
Of note, in the pattern I want:
a high neckline -almost a halter top silhouette
A visible tie casing that gives a scrunchy, delicious appearance
Side ties that slot through the casing across the front/back instead of are attached at the side seams
A ruffle effect that comes from the tie casing gathering the top instead of an attached ruffle
Let’s get drafting!
To start, we need a rough (or less rough if you’ve got it together) outline of our torso shape.
You can use:
a) a self drafted bodice block (I love Coraline Street’s DIY bodice blocks)
b) a purchased bodice block (Etsy, again, has great choices)
c) trace a tank top that fits approximately the same way you would like the bodice area to fit


Now starts the sewing!
Begin by cutting out your pattern pieces. You added seam allowance to the seam along the gather, the side seams and shoulder seams. We won’t add seam allowance to the neck-hole or arm-hole so we can finish them with bias tape later.
Using your new patterns cut out two mirrored front bodice pieces adding 0.5” of seam allowance for the front middle seam. Repeat cutting mirrored pieces with 0.5” seam allowance for the back bodice pieces. Use the rectangles generated in the prior section step 7 to cut out two rectangles from your fabric.
Once your pieces are cut out, sew the two front bodice pieces together right-sides together along the center seam to create one piece. Repeat for back bodice pieces. You can elect to finish the seams with your overlocker or a zig zag stitch.

With our DIY general bodice blocks (front and back) let’s make some adjustments:
Measure the circumference of your head, this is important especially for non-stretch fabrics to ensure you can get it on and off your head.
Ensure the neckline slightly larger than the circumference of your head by adding more scoop to the neckline of the bodice block.
Add 0.5” to the length of the strap on the front bodice and 2.5” to the back bodice piece.
Shorten the shoulder seams (width) in towards the neckline by 1-2” to create the halter-esque neckline. Keep the shoulder seam at least 2” wide.
Starting at the bottom of the armhole of both the front and back bodice blocks, add an inch to the width, and create a straight drop parallel to the existing outline towards the waistline.
Cut the bodice block width-wise 1.5” above the waist line on both the front and back bodice blocks -or where you would like the peplum to begin (don’t forget 0.5” seam allowance!).
These is your front and back top bodice pieces!
Measure the hem/bottom edge of your front and back top bodice pieces. Cut a paper rectangle for front and back with a width 1.5x (1.5 x hem measurement). The length of these rectangle will be how ever long you want the peplum to extend from the gathering point + 1” hem seam allowance.
For me, I had two rectangles 31.5” x 8” and 32.25” x 8”. These will be your peplum/bottom of the shirt.


3. Sew the front bodice to the back bodice at the shoulder right sides together, overlock if desired, and topstitch the seam allowance down. (shown top right)
4. Baste stitch (I set my machine to the longest stitch length and do not backstitch) two parallel lines along the top (longest side) of the rectangles you cut for the front peplum at 3/8” and 5/8”. (shown bottom right)
5. Repeat for the other back peplum rectangle.
6. Pull on the top thread of both basting stitches to begin to gather.
7. Gather to fit the bottom of the bodice pieces and pin in place. (shown to the right)
8. Return your stitch length to normal and stitch the peplum and bodice pieces together for both front and back. Overlock if desired.
9. Now we are going to hem the bottom of the peplum. Roll twice at 0.5” and stitch in place.
10. Finish the side seams with a rolled hem of 0.25” (rolled twice) or overlock and hem at 0.5”. (shown below, left)


11. Cut bias binding tape. I chose to cut 1” strips on the bias and put them through a bias tape maker to create mine. (shown to the left, middle)
12. Finish the neckline by stitching the bias tape to the raw edge and folding over to stitch again. For a quick tutorial on how to do this check this link out.
13. Finish the armholes with bias binding as well. Of note, these are not complete circles, so you will need to finish the tape where it hits the side seams by folding the bias tape excess at the ends under before stitching to the bodice.
14. Create 1” bias tape by cutting a 2” strip this time.
15. Overlay the 1” bias tape with the front bodice/peplum seam on the right side (so it is visible when the top is on the body) and edgestitch the sides of the bias tape down to create a channel for the side ties.
16. Repeat for the back bodice/peplum seam.
17. Create the side tie by cutting a 1” strip, folding right sides together and stitching at 0.25” length-wise.
18. Using a loop turner or safety pin pinned to the edge of the tie and flip the tie to be right-side-out.
19. You can finish the tie by stitching the end.
20. Pull the tie through the channel you created by pinning a safety pin to the end to lead the tie.
FIN!