Wavy Tote Bag
June 2025 By: Maia
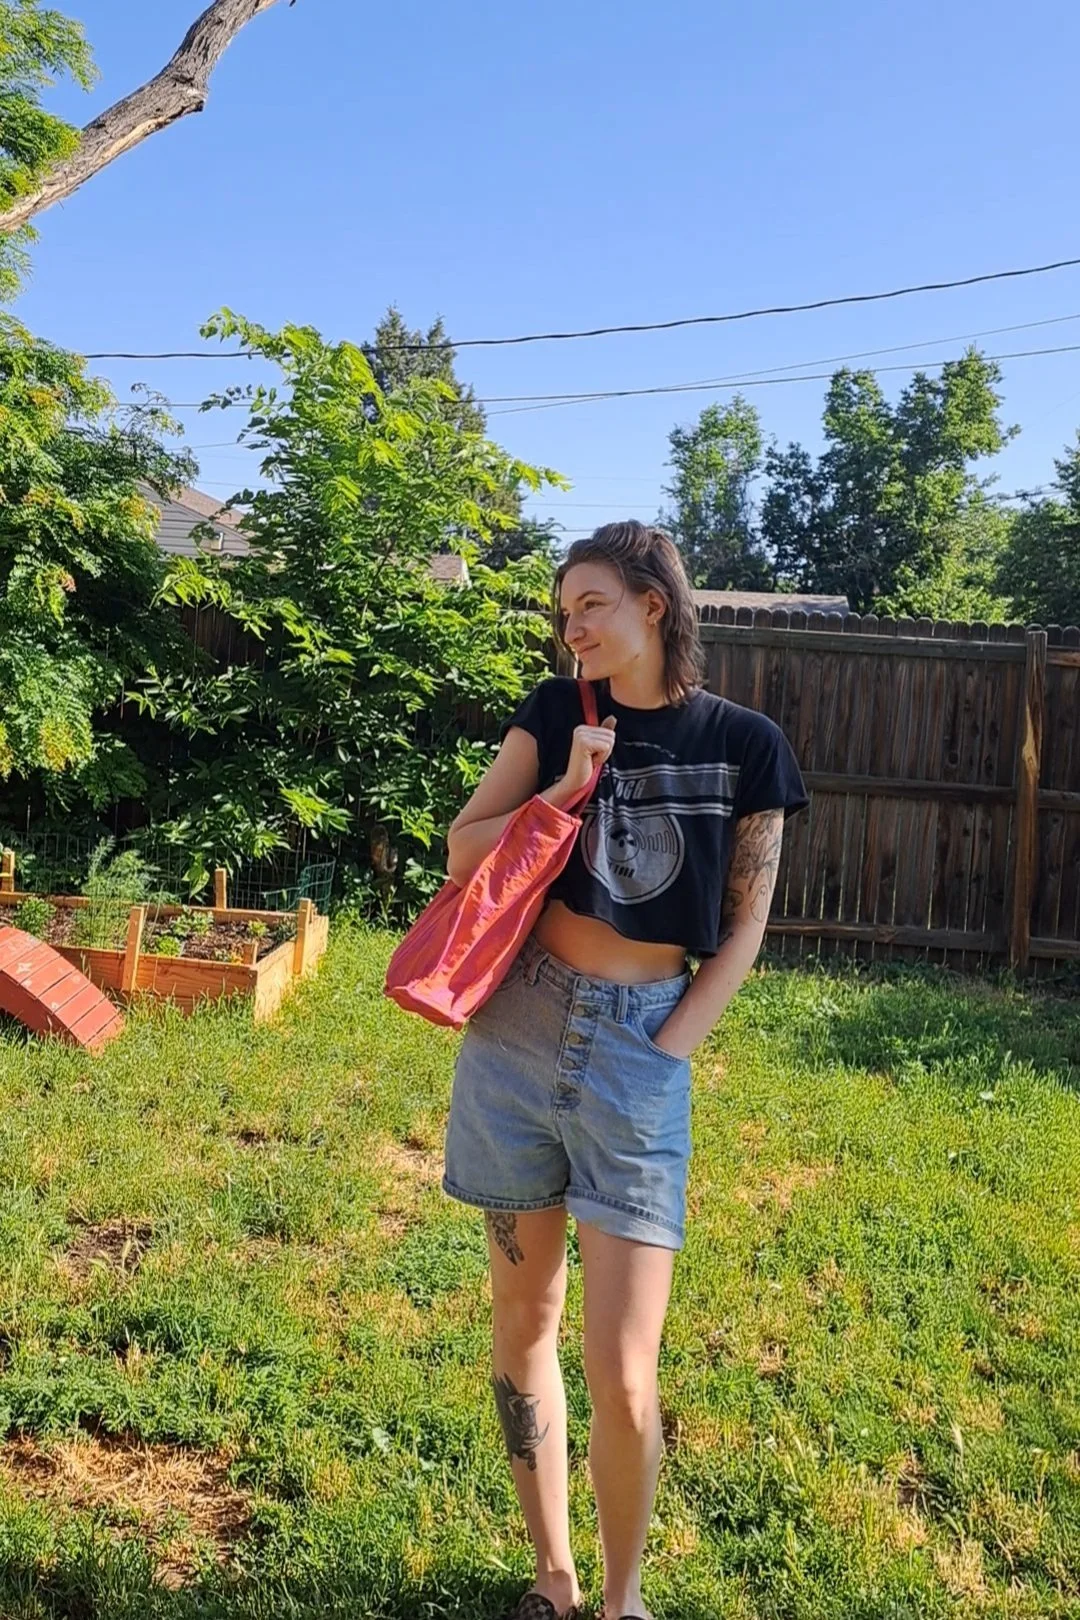
I am a working professional with many trinkets. Currently, my means of transportation for my computer, water bottle, personal care, sunglasses, planner, notebooks, etc. is a adorable-but-incredibly-simple Trader Joe’s Sardine-themed tote bag. It’s just not the collected professional look I am imagining.
June also has been such a crazy month professionally and personally, so I would love some semblance of order and this is how I plan on achieving that.
I searched high and low for a wavy-edge bag that was large enough to fit all of my treasures, to no luck! But, I did collate a couple inspiration pieces that you can peruse in the Zozomakes Pinterest board here. I wanted something in a cute pattern, with the wave edges, and so much organization. So I decided to make my own!
Let’s get drafting!
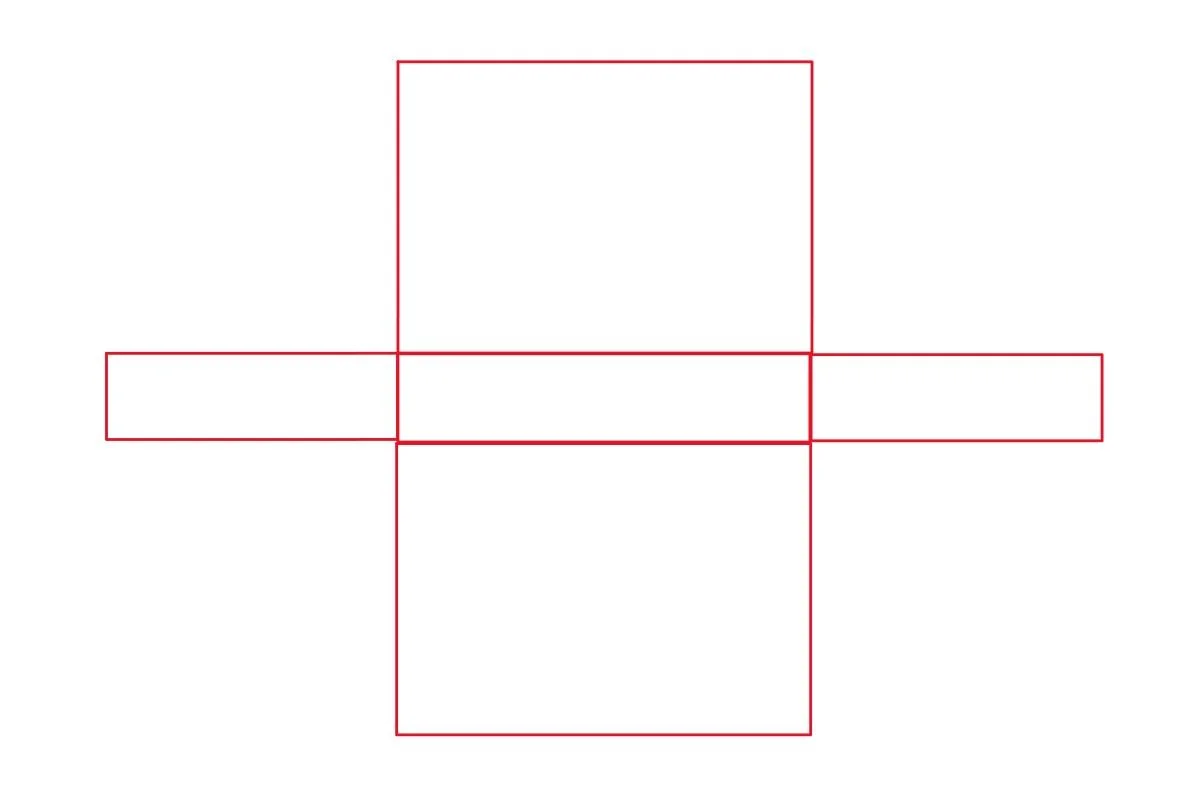
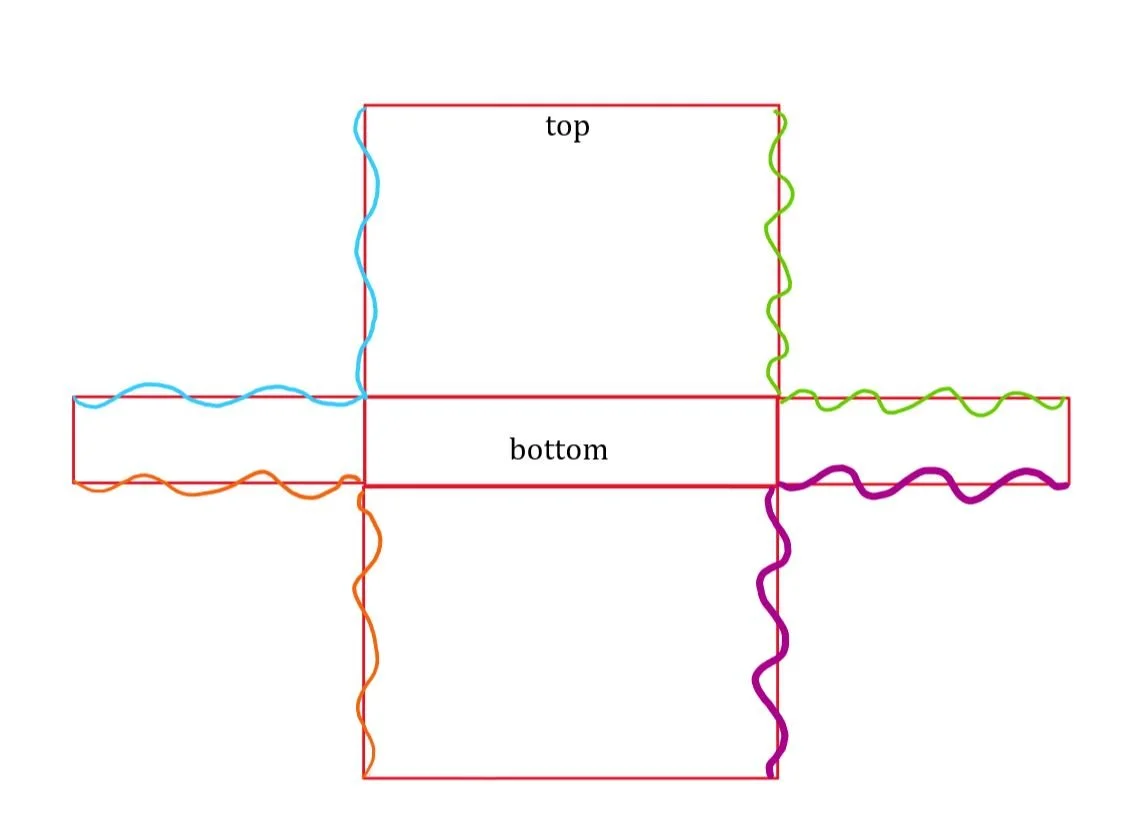
As far as patterns go, this is a standard tote bag design. If you want something readymade this Etsy listing is very similar to the overall shape of the wavy tote bag or you can draft up a bag based of the diagram below using whatever length, width, and height, measurements you want!
From here we add the wave pattern to the edges of the bag.
This is incredibly important for your success here: match the wave pattern of the color coded elements. This will ensure the edges/corners of your bag match up. Also, make sure your waves start and end in the corners precisely. If they don’t, your edges will not be the same width as the other aspects of the bag (i.e. bottom) and you will have much more to worry about.
Fabric choices
I was absolutely in love with this fluid + drape Twizzlers print. I purchased the cotton block print for this project as a little treat.
For the batting layer (this bag is quilted) you can elect for traditional batting, or you can find something quilted second hand and use that as batting. I used my partner’s old quilted button-up. I took the collar and cuffs off, removed the buttons and pockets and used every bit.
For the lining you can use any durable light-weight fabric. Again, I used a cotton button up that my partner gave me.
HOT TIP:
For the pattern cutting, lay out the fabrics as you want to see them. Outer fabric should be face down, batting, then the inner fabric should be face up. What really matters is that you cut your pattern with the inner and outer fabrics opposite facing so that when you assemble the bag you see the pretty side of each.


Hot Tip:
You can use the same method we used for the straps to make cool additional elements like a keychain holder. I did this by making a strap, turning it right-side-out and feeding it through a D-ring, folding the edge over and topstitching the end down in a square pattern. The other end of the strap was sandwiched between lining and the batting prior to bias binding, then folded towards the bag interior during bias binding.


To begin we are going to quilt the outer fabric to the batting. Sew parallel stitches in any pattern you want to secure the outer fabric to the lining. I chose a slight wave. (see right)
Pockets! I added two topstitched pockets (patch pockets) to one side making sure the pockets face up towards the top of the bag. I also added one small zippered pocket. I won’t detail how to install a zipper but there are so many wonderful video tutorials available on how to execute it. Because these pockets are going to see a lot of wear and tear, I interfaced the interior of all pockets and hemmed the top. Hot Tip: pockets from a button up work well as bag interior pockets too! (see left)
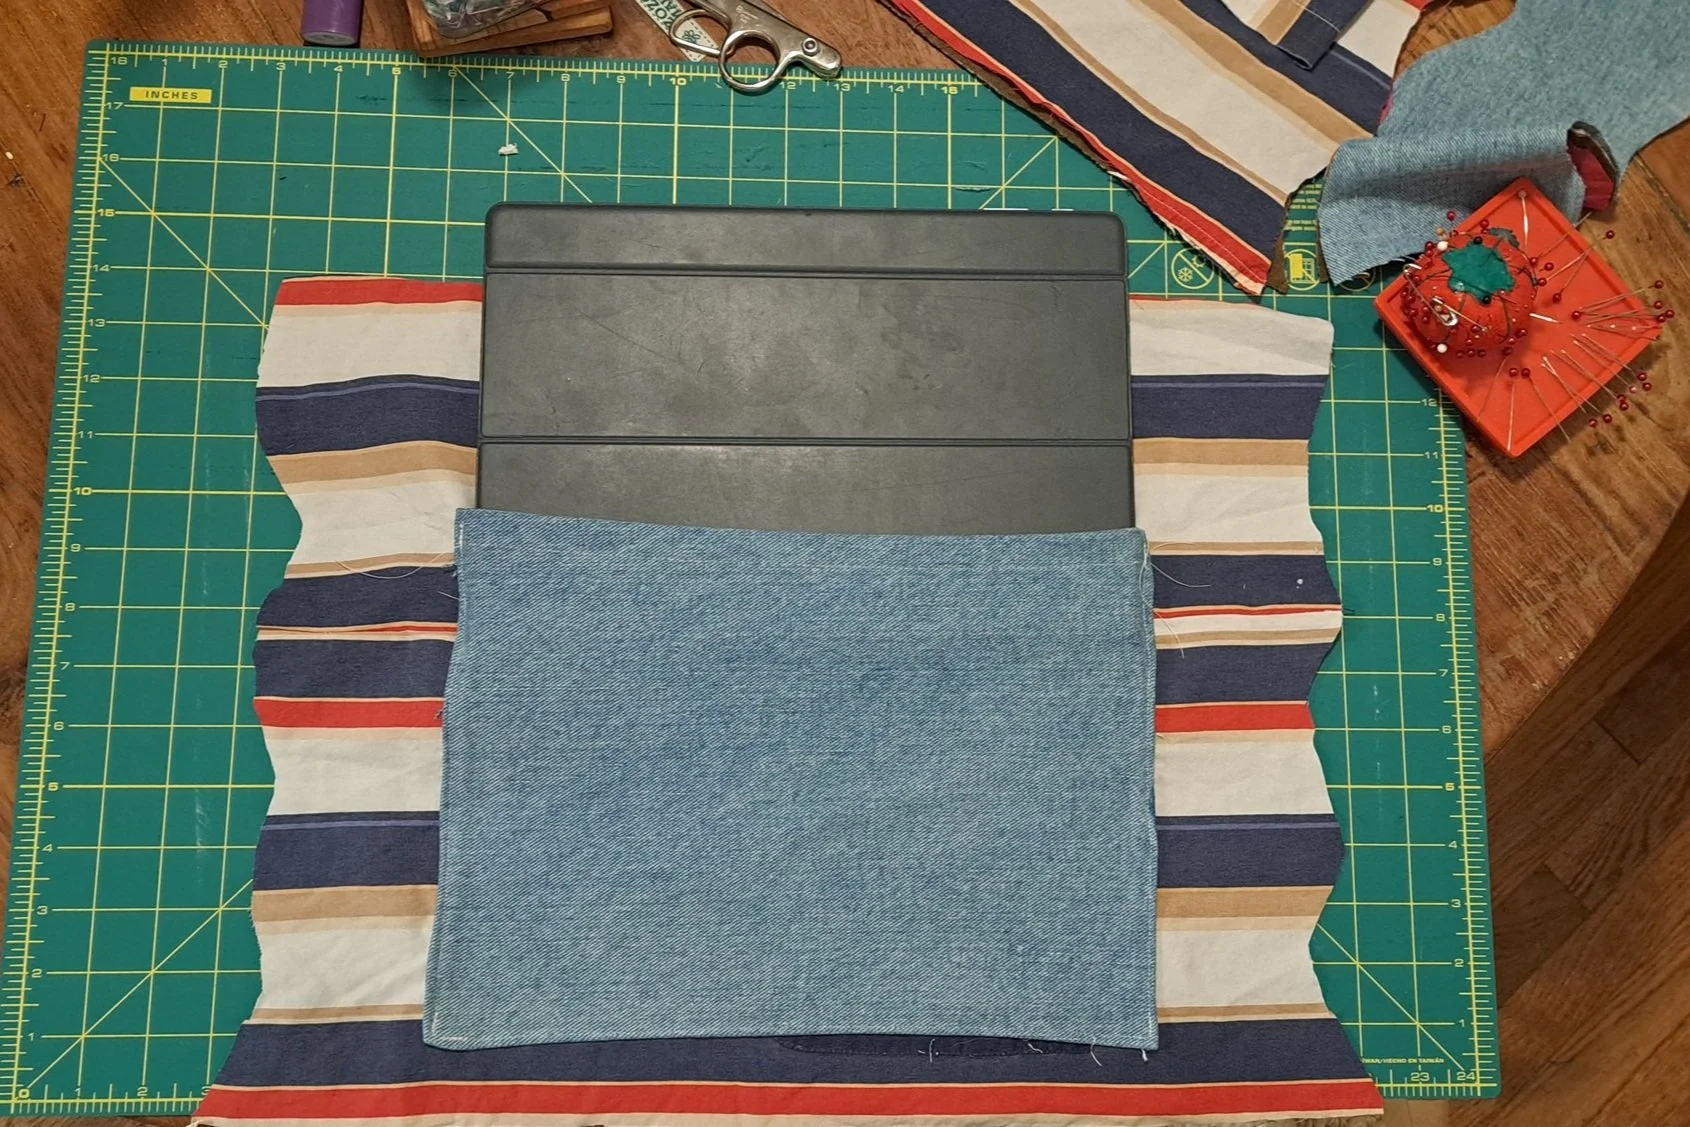
On the other side of the bag lining I topstitched a denim laptop pouch. Because this one was a heavier weight and would hold a bit more weight, I riveted the top corners to the inner fabric. (see lower left)
Once the pocket-situation is as you like it, we can move on to assembling the bag!
Sandwich your outer, batting, and inner fabric and pin or clip the color coded edges together with the lining fabric together/touching. This should result in a seam that leaves the outer fabric exposed and the inner fabric inside. (see below). If you cut the bottom piece separately (i.e. not in a huge cross shape as the diagram shows, begin the seams with the bottom edge, attaching the botttom to the sides then proceed to attaching the sides together.


6. Finish all seams with bias binding tape. The last finished edge should be the top edge. I chose to add some stiffness to my bias tape with interfacing but this is optional.
7. Cut 2 strips of fabric the length of your desired straps (+0.5”) and at least 3” wide (this will create a 1” strap with the 0.5” SA)
8. Apply interfacing to the straps for stability.
9. Fold the straps right-sides-together in half and stitch the length at a 0.5” SA.
10. Turn the straps right-side-out, fold the ends towards the interior and topstitch them on the top edge of your bag.
11. DONE!